

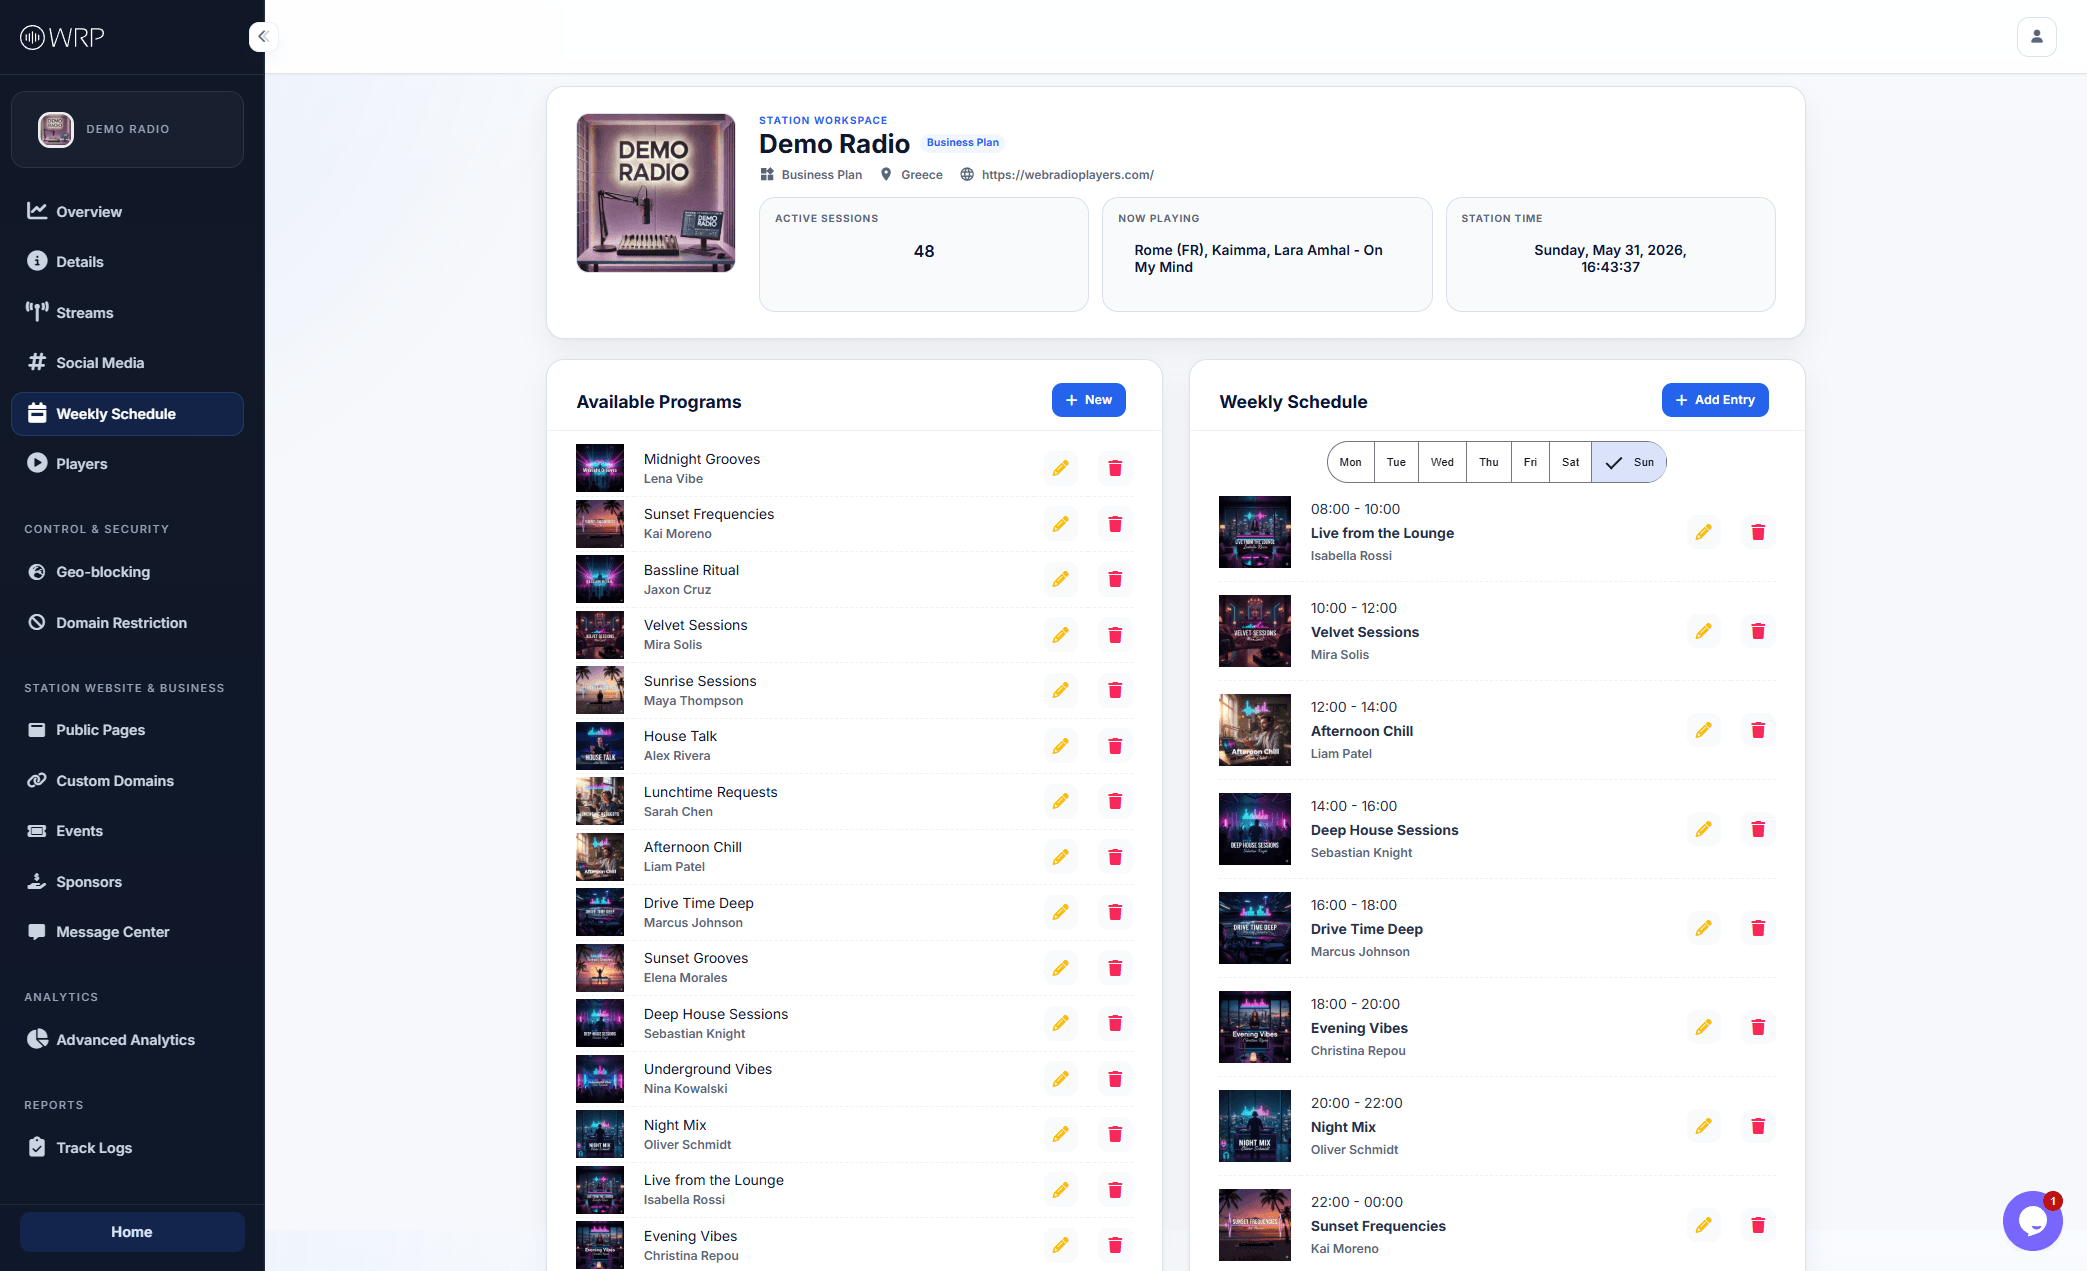
Step 1: Creating Available Programs
The left side of the dashboard acts as your library of shows. You only need to create a program once; after that, you can reuse it across as many days and time slots as you need. To add a new show to your library, click the blue + New button above the Available Programs list.1
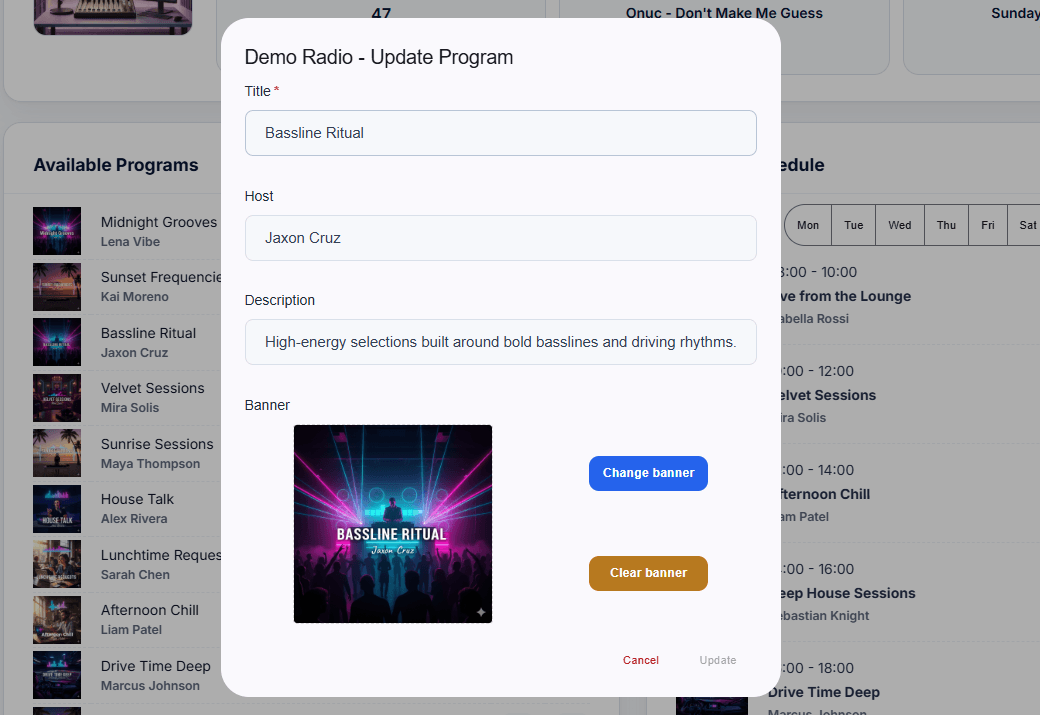
Basic Details
- Title (Required): The name of the show (e.g., Bassline Ritual).
- Host: The DJ, personality, or syndicator hosting the show.
- Description: A short summary of what listeners can expect. This helps listeners discover your content and improves SEO on your public pages!
2
Upload a Banner
Click Change banner to upload artwork for the show. This artwork will be displayed beautifully on your public pages and inside the expanded view of your web players when the show is currently live.
Step 2: Building the Weekly Schedule
Once your programs are created in the left column, you can start building your calendar on the right. You can easily filter your view to check your programming by clicking the day tabs (Mon, Tue, Wed, etc.) at the top of the schedule. To assign a program to a time slot, click the + Add Entry button in the top right.1
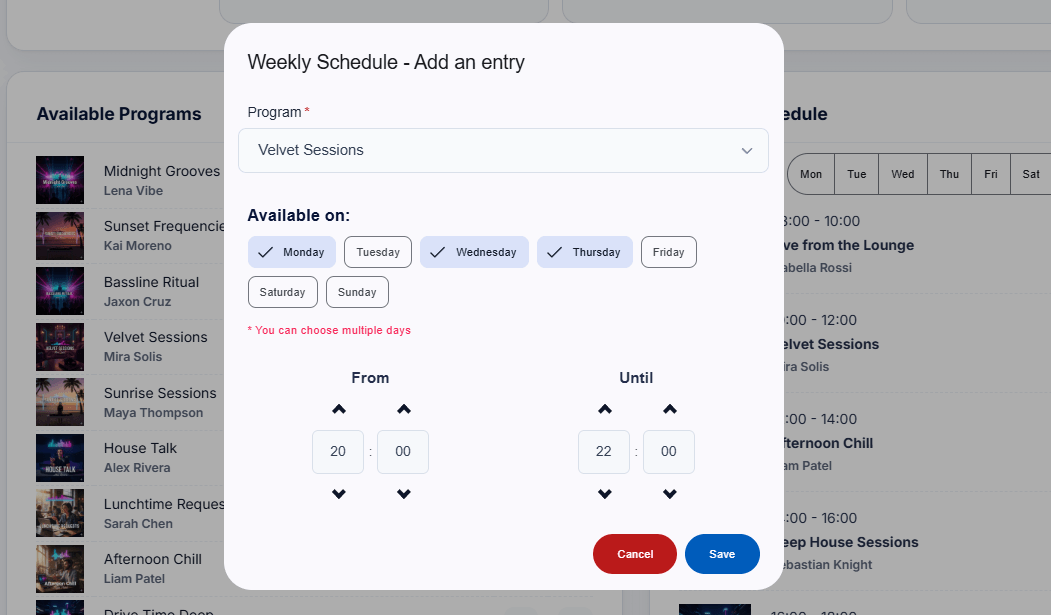
Select a Program
Use the dropdown menu to choose one of the shows you created in your Available Programs library.
2
Choose the Days
Select which days this specific time slot applies to.Pro-tip: You can select multiple days at once! If a show airs Monday through Thursday at the same time, just click all four days to bulk-create those entries in a single click.
3
Set the Time Slot
Use the From and Until arrows to set the exact broadcast hours for this entry.
Timezone Reminder: The times you enter here are strictly based on the local Timezone you configured on the Station Details page. Ensure your station’s timezone is set correctly so your schedule triggers at the exact right moment for your listeners across the globe!