
Step 1: Template Selection
The first step is choosing the structural layout of your new website. We offer a variety of templates ranging from basic “Listen Live” landing pages to comprehensive full-site layouts (like Full Site or Coastal Dreamscape).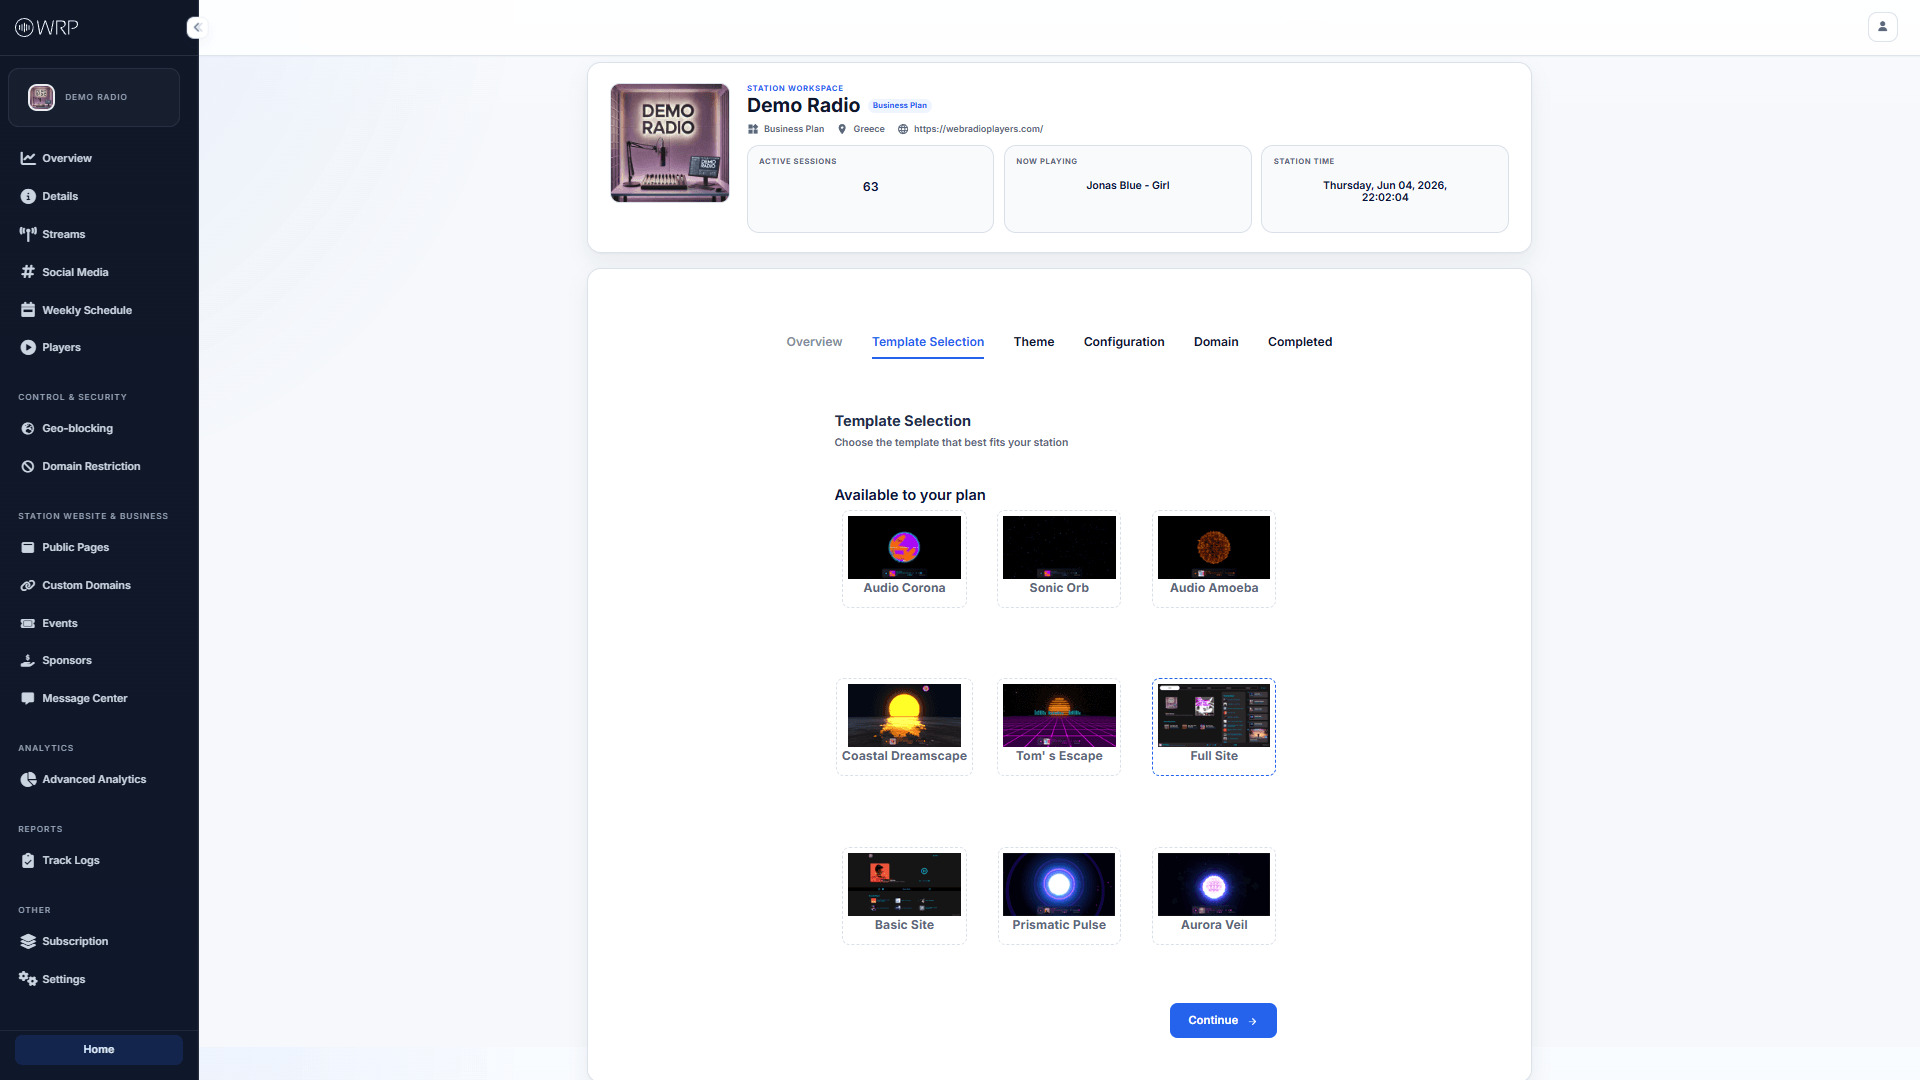
Step 2: Theme Selection
Once you have selected a template, you can apply a custom color theme to match your station’s branding. The available themes are specifically curated to look beautiful on the template you just chose.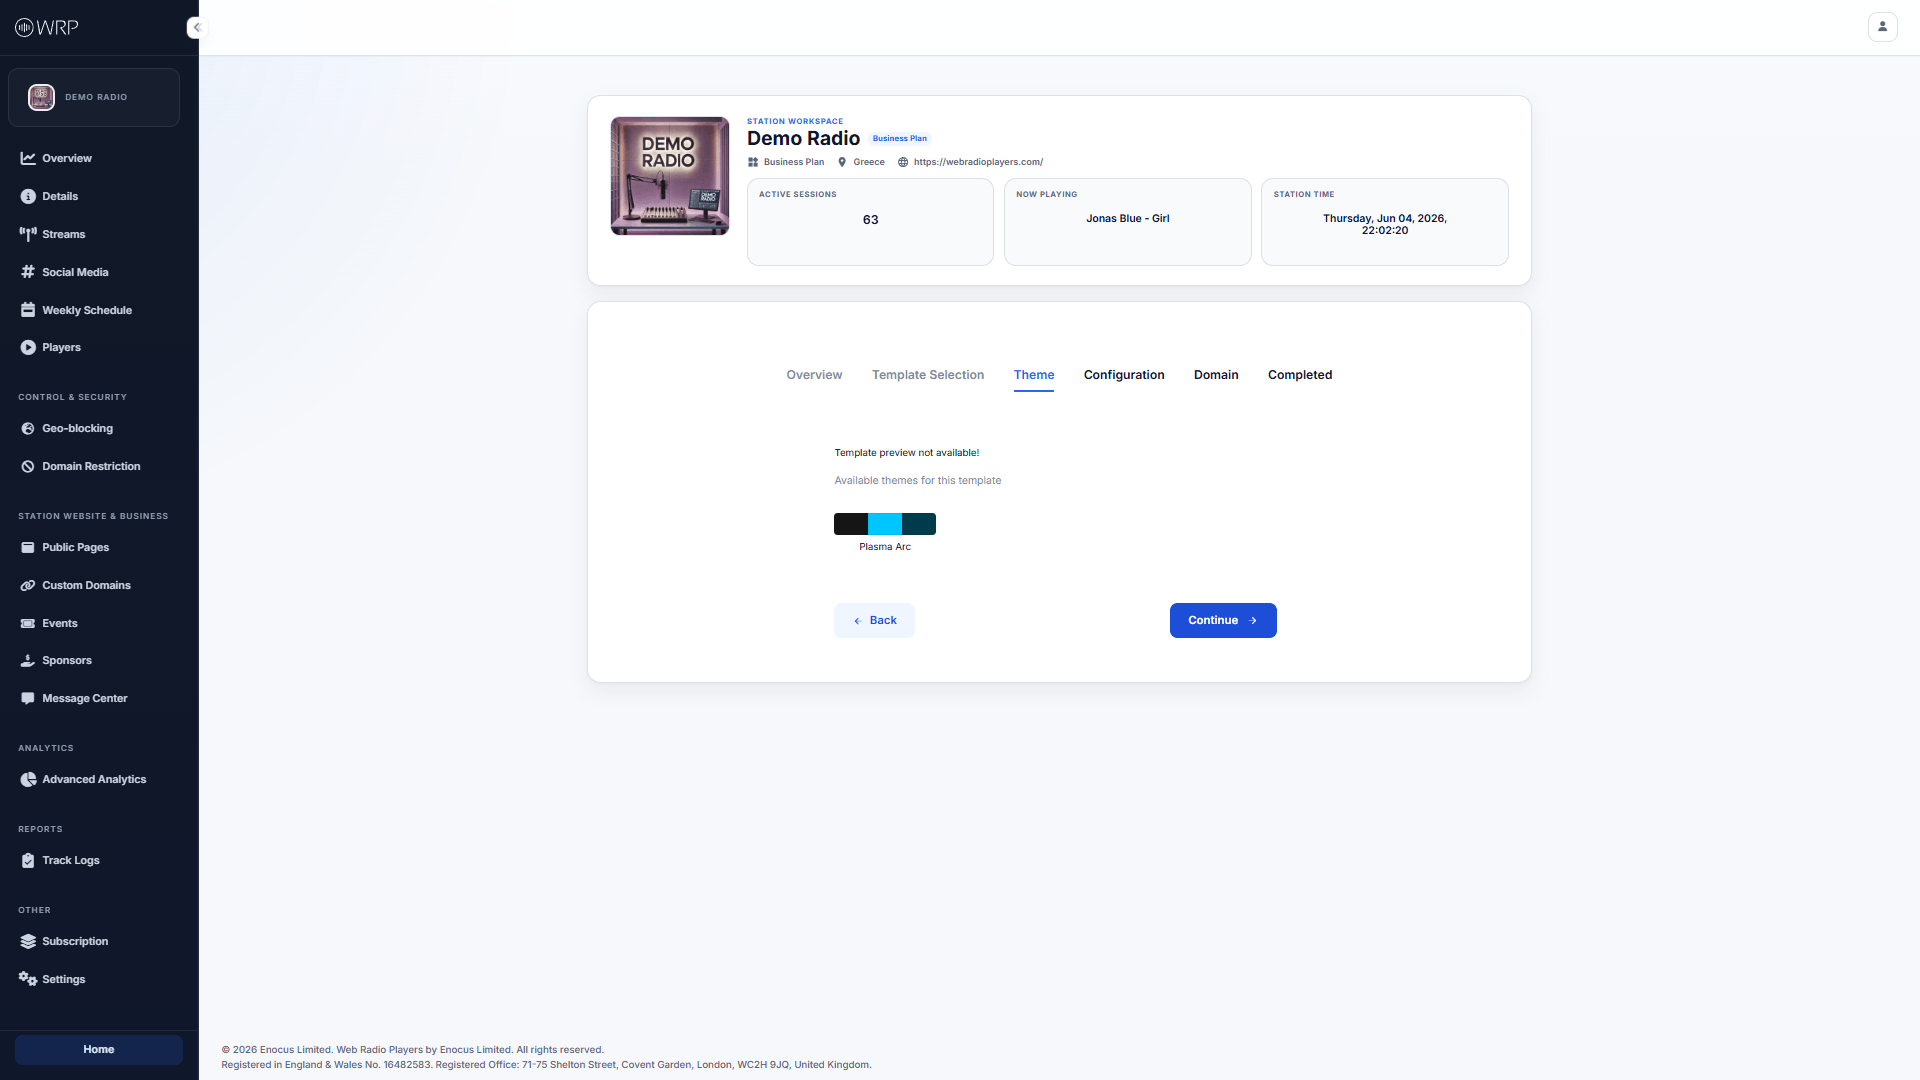
Step 3: Configuration & Features
This step allows you to define exactly what content appears on your public page.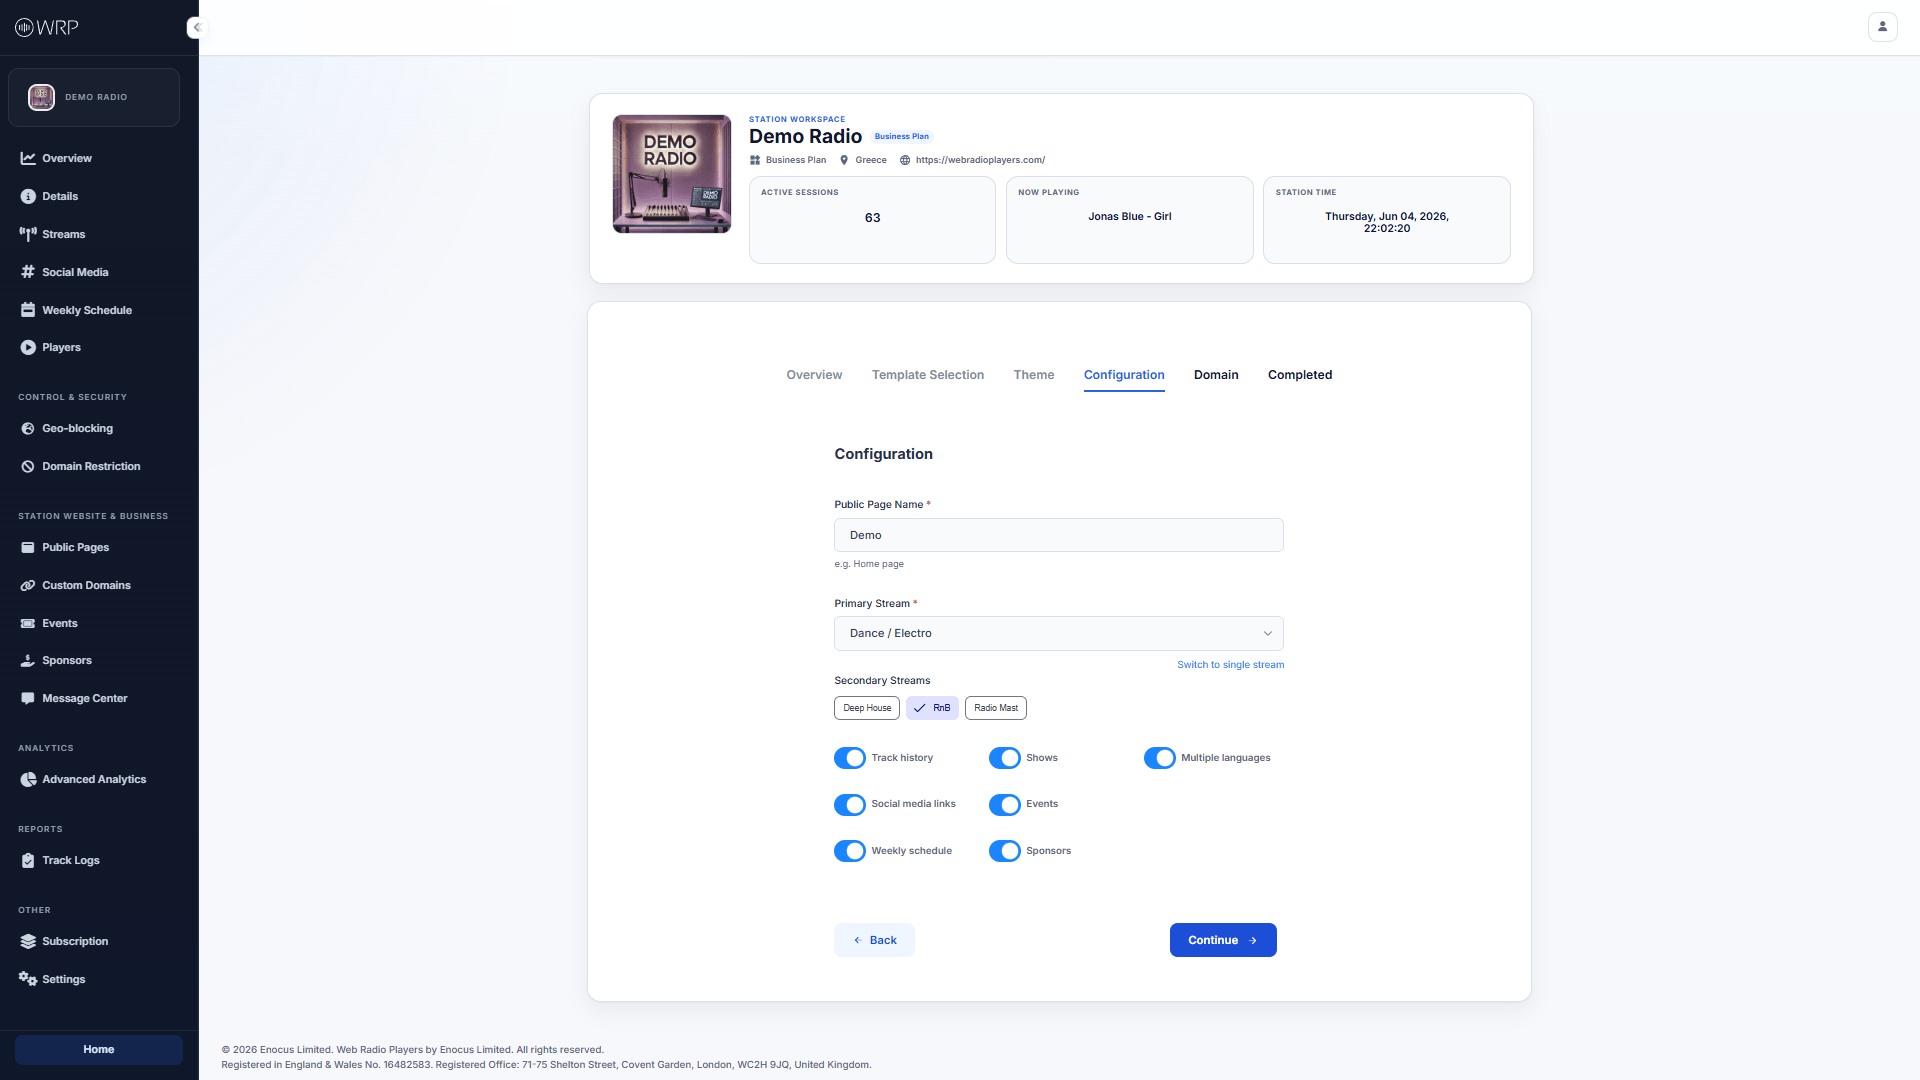
- Public Page Name: This is an internal name (e.g., Main Demo Site) strictly to help you organize your pages inside your dashboard. Listeners will not see this.
- Streams: Select your Primary stream, and optionally choose Secondary streams if you want to offer a multi-channel layout.
- Feature Toggles: Depending on the Template you selected, you will see a variety of switches allowing you to turn features on or off.
- Track History: Show recently played songs.
- Social Media Links: Display the icons from your Social Media settings.
- Weekly Schedule: Display your broadcast calendar.
- Sponsors & Events: Highlight your monetization and upcoming shows.